Just recently I got my hands on a Lenovo ThinkCentre M92p Tiny miniPC which I were able to grab for virtually free on our local classifieds site. I figured that it would be and ideal solution for running some VMs and docker containers in our office. These decade old PCs provide great value for this purpose, especially when Raspberry Pi’s are becoming very expensive providing all the hats and cases you need to buy in order for it to become a reliable server machine.
Another benefit of an older “thin client” miniPCs is that on the x86 architecture you can run pretty much anything you want, compared to arm used on Raspberry this is not necessarily the case.
The unit that I bought for 20€ is running an Intel Core i5-3470T, 2.9Ghz (2-core, 4-threads, max 3.6GHz). The CPU is old and not the fastest one, but still it is more than enough for server use. I’ve seen some videos and read posts about people replacing CPUs to i7 or even second hand Xeon. Maybe I’ll inspect this possibility a bit later.
In terms of RAM my PC came with 8 gigs of DDR3 (possible to upgrade to 16) which is also sufficient for my use use case. Hard drive was the only thing missing, but they are not expensive on Amazon - I bought a 256GB SATA3 drive for 20€. It has an embedded graphics - Intel HD Graphics 2000, 1Gbit Ethernet adapter, DP slot for video, etc. It even has a Windows 7 PRO key, which in some cases provides the free upgrade to Windows 10, which I will not need.
All in all the server has cost me half the price that Raspberry Pi’s are selling at the moment, which is a killer for these specs.
First steps
To enter the bios in the Lenovo M92p you need to hold F1 key while powering up your computer. In some cases DisplayPort connection will not work and it’s a good idea to have an old VGA monitor for the purpose of initial steps.
For Proxmox installation you will need to enable the following BIOS options:
- Under the
Advancedtab enable all the options except for TxT. EspeciallyIntel (R) Virtualization Technologyis important. You will also want to setC State SupporttoC1C3C6for lower idle power consumption. - Under the
Startuptab, disableCSMwhich will set the boot mode toUEFI. - In the
Securitytab you will want to disableSecure Boot. - And if you are planning to use the machine as a server without a keyboard attached to it, make sure to enable
Keyboardless Operationunder theStartuptab, otherwise the system will not boot if keyboard is not attached.
Important! Issues with older BIOS
My unit came with a BIOS version dated 2013 and after installing Proxmox I struggled with 1962 error : No operation system found on startup. After some time spent googling, reading through tons of manuals, trying various BIOS settings, I figured that the old BIOS version might be the root cause of the problem.
To make things more difficult, I did not find any easy way to update the BIOS using a bootable USB or from Linux live distro. This ment walking an extra mile installing Windows. This machine came with Windows 7 PRO license key, which also works on Windows 10 PRO, so I downloaded a tool from Microsoft site to create a bootable image.
After I created a bootable USB drive and installed Windows. The license key is embedded in BIOS so in the process of installation when asked for a key just click on Don't have a key option.
I followed the guide on Lenovo website to update my BIOS.
Basically all you need to do is to install Lenovo System Update and it will handle everything automagically.
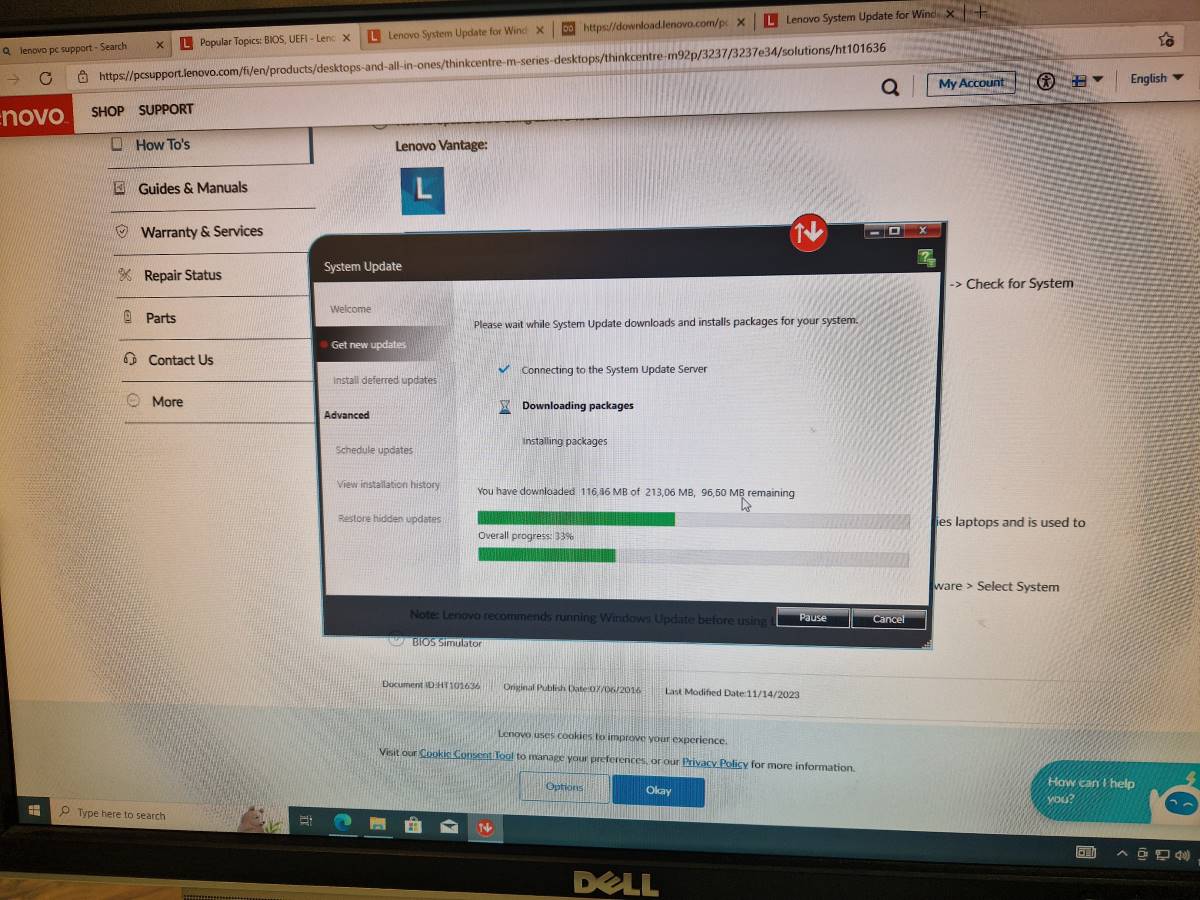
After that (unless you decide to use the machine as Windows desktop) you will not need Windows anymore.
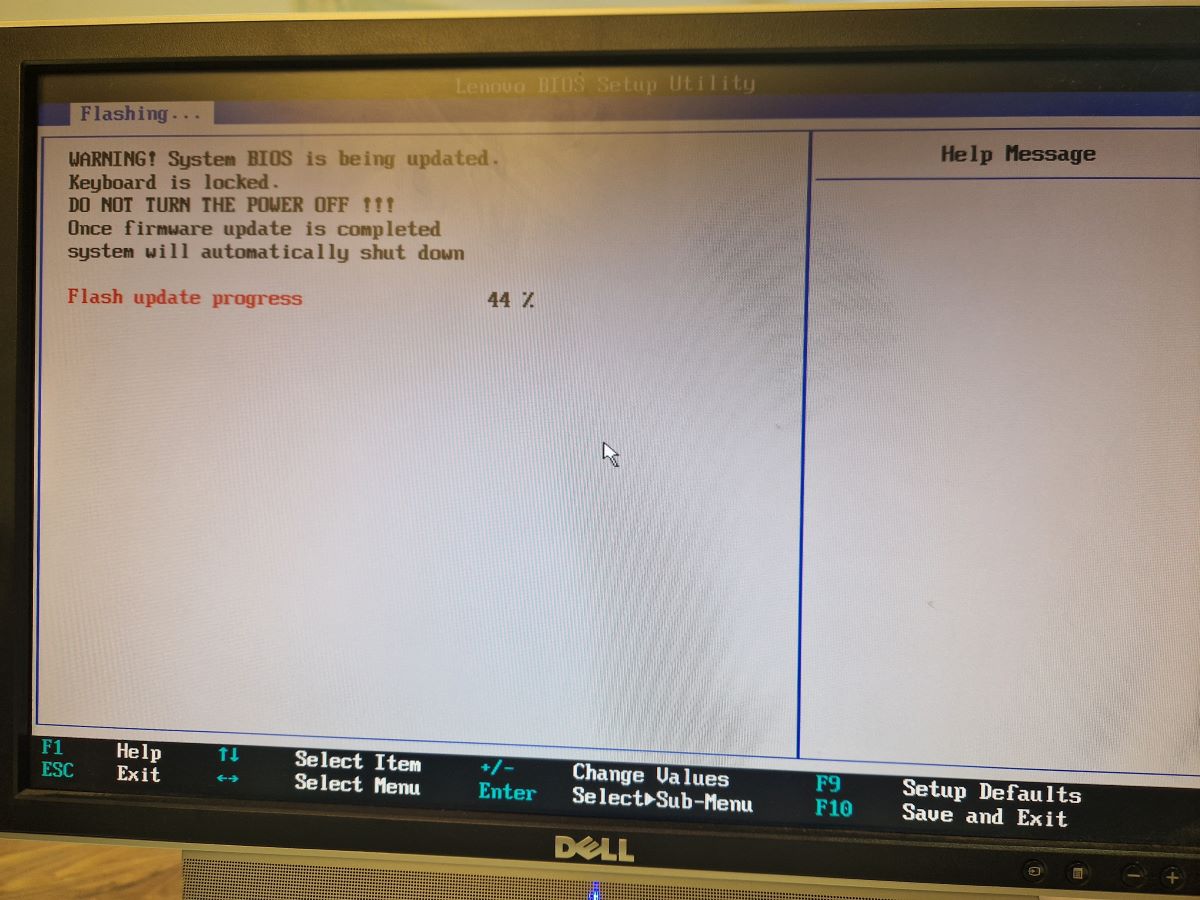
The app will ask for reboot and the process of flashing BIOS will continue:
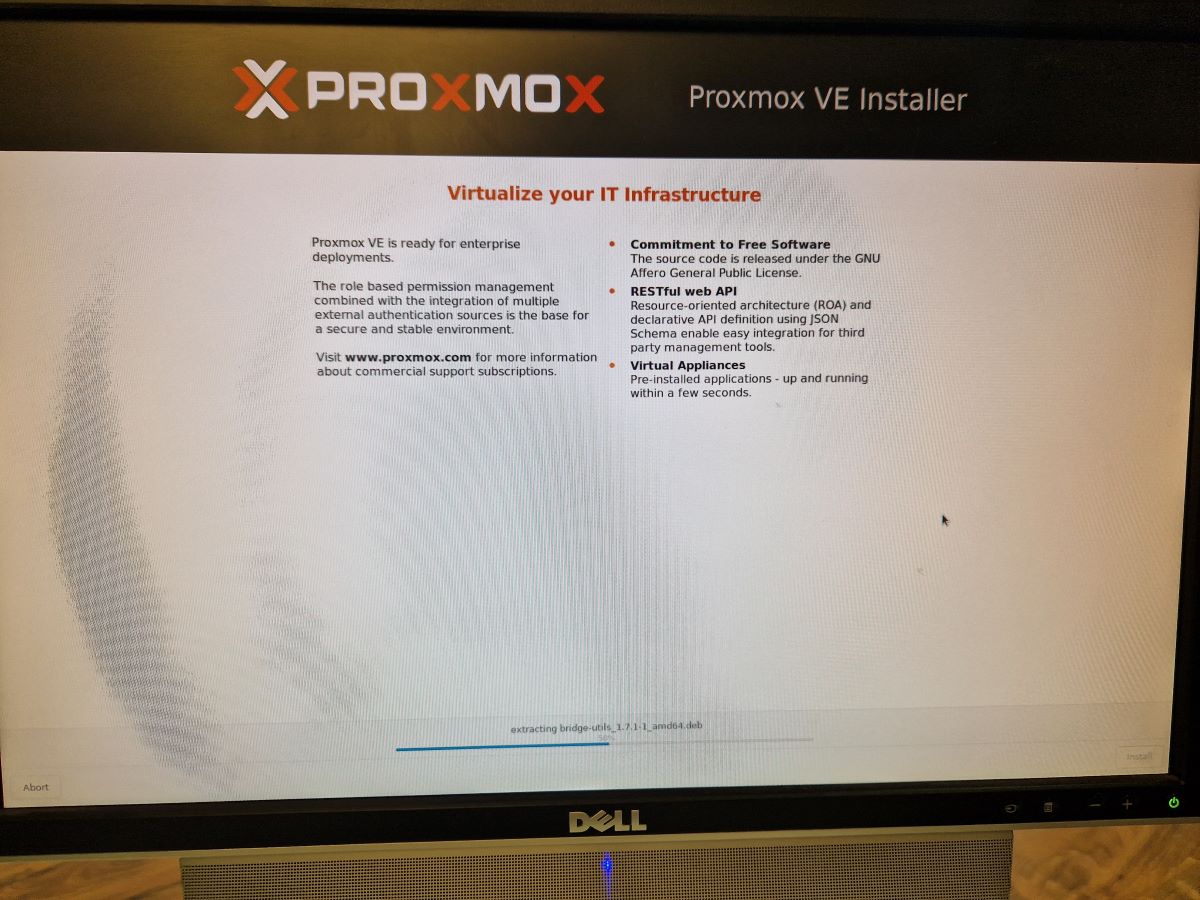
Proxmox installation
The process of installing Proxmox is very straightforward and well documented on their website, so I will not go that deep into that in this post. You can also check my earlier post where I covered a process a bit.
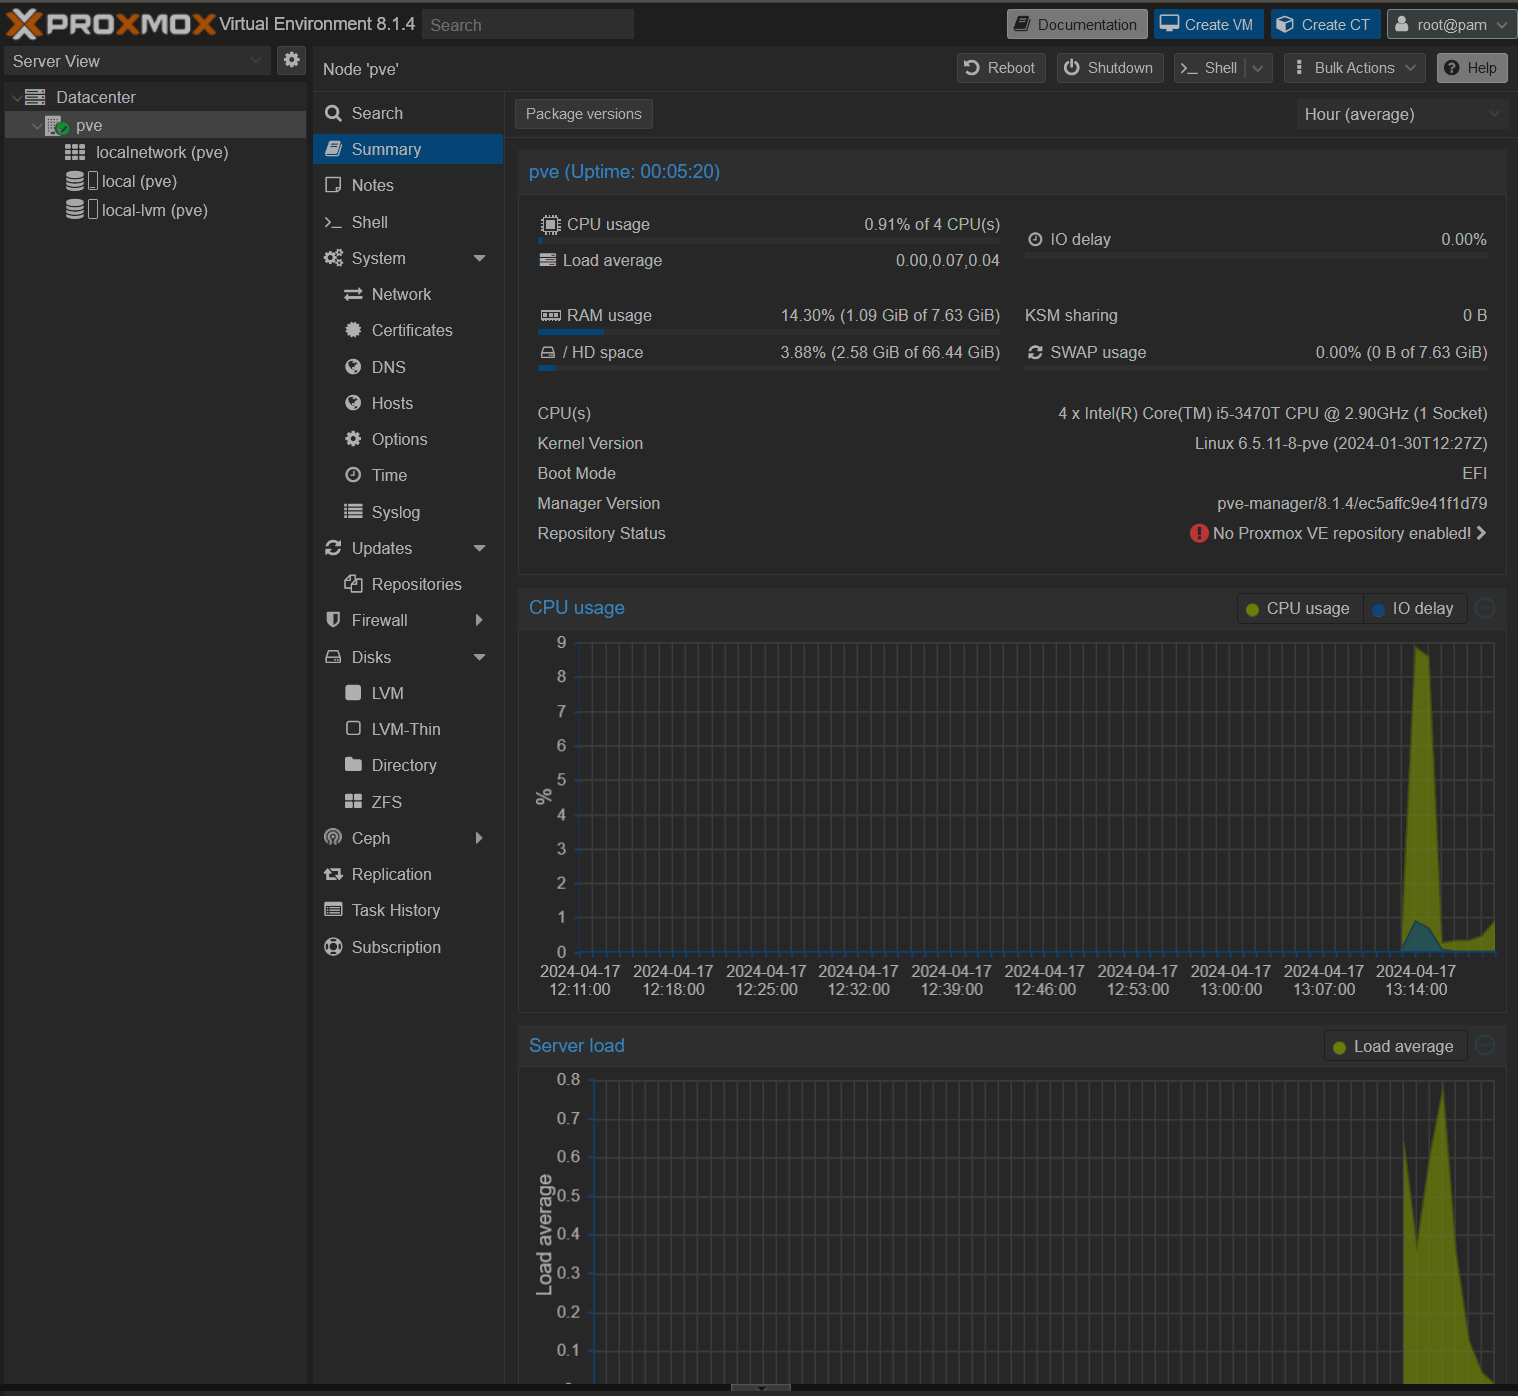
The installation process was quick and after a few minutes I head a system up and running:
Thoughts, next steps and possible things to try
Mini-PC’s or thin-clients are very convenient in homelab or small server use. There are several options available on eBay - even 10 year-old machines are still very competitive.
I thought that a cool way to play around would build a Kubernetes cluster with a few of this machines. I also kinda want to try whether Xeon processor will cook the motherboard, or on other hand maybe it is better to skip this part. It is worth indeed to keep the eyes open for offers of these kind of machines online.